Release Management
Versioning, Deployment, and Rollback
Liberate offers powerful release management capabilities that enable teams to effectively version, create release artifacts, and deploy their workflows to QA or production environments. This documentation will guide you through the process of managing releases and revisions in Liberate.
Revisions:
- Autosaving Revisions: Liberate automatically saves revisions whenever there is a difference in the workflow. This ensures that your progress is saved and you can easily track changes over time.
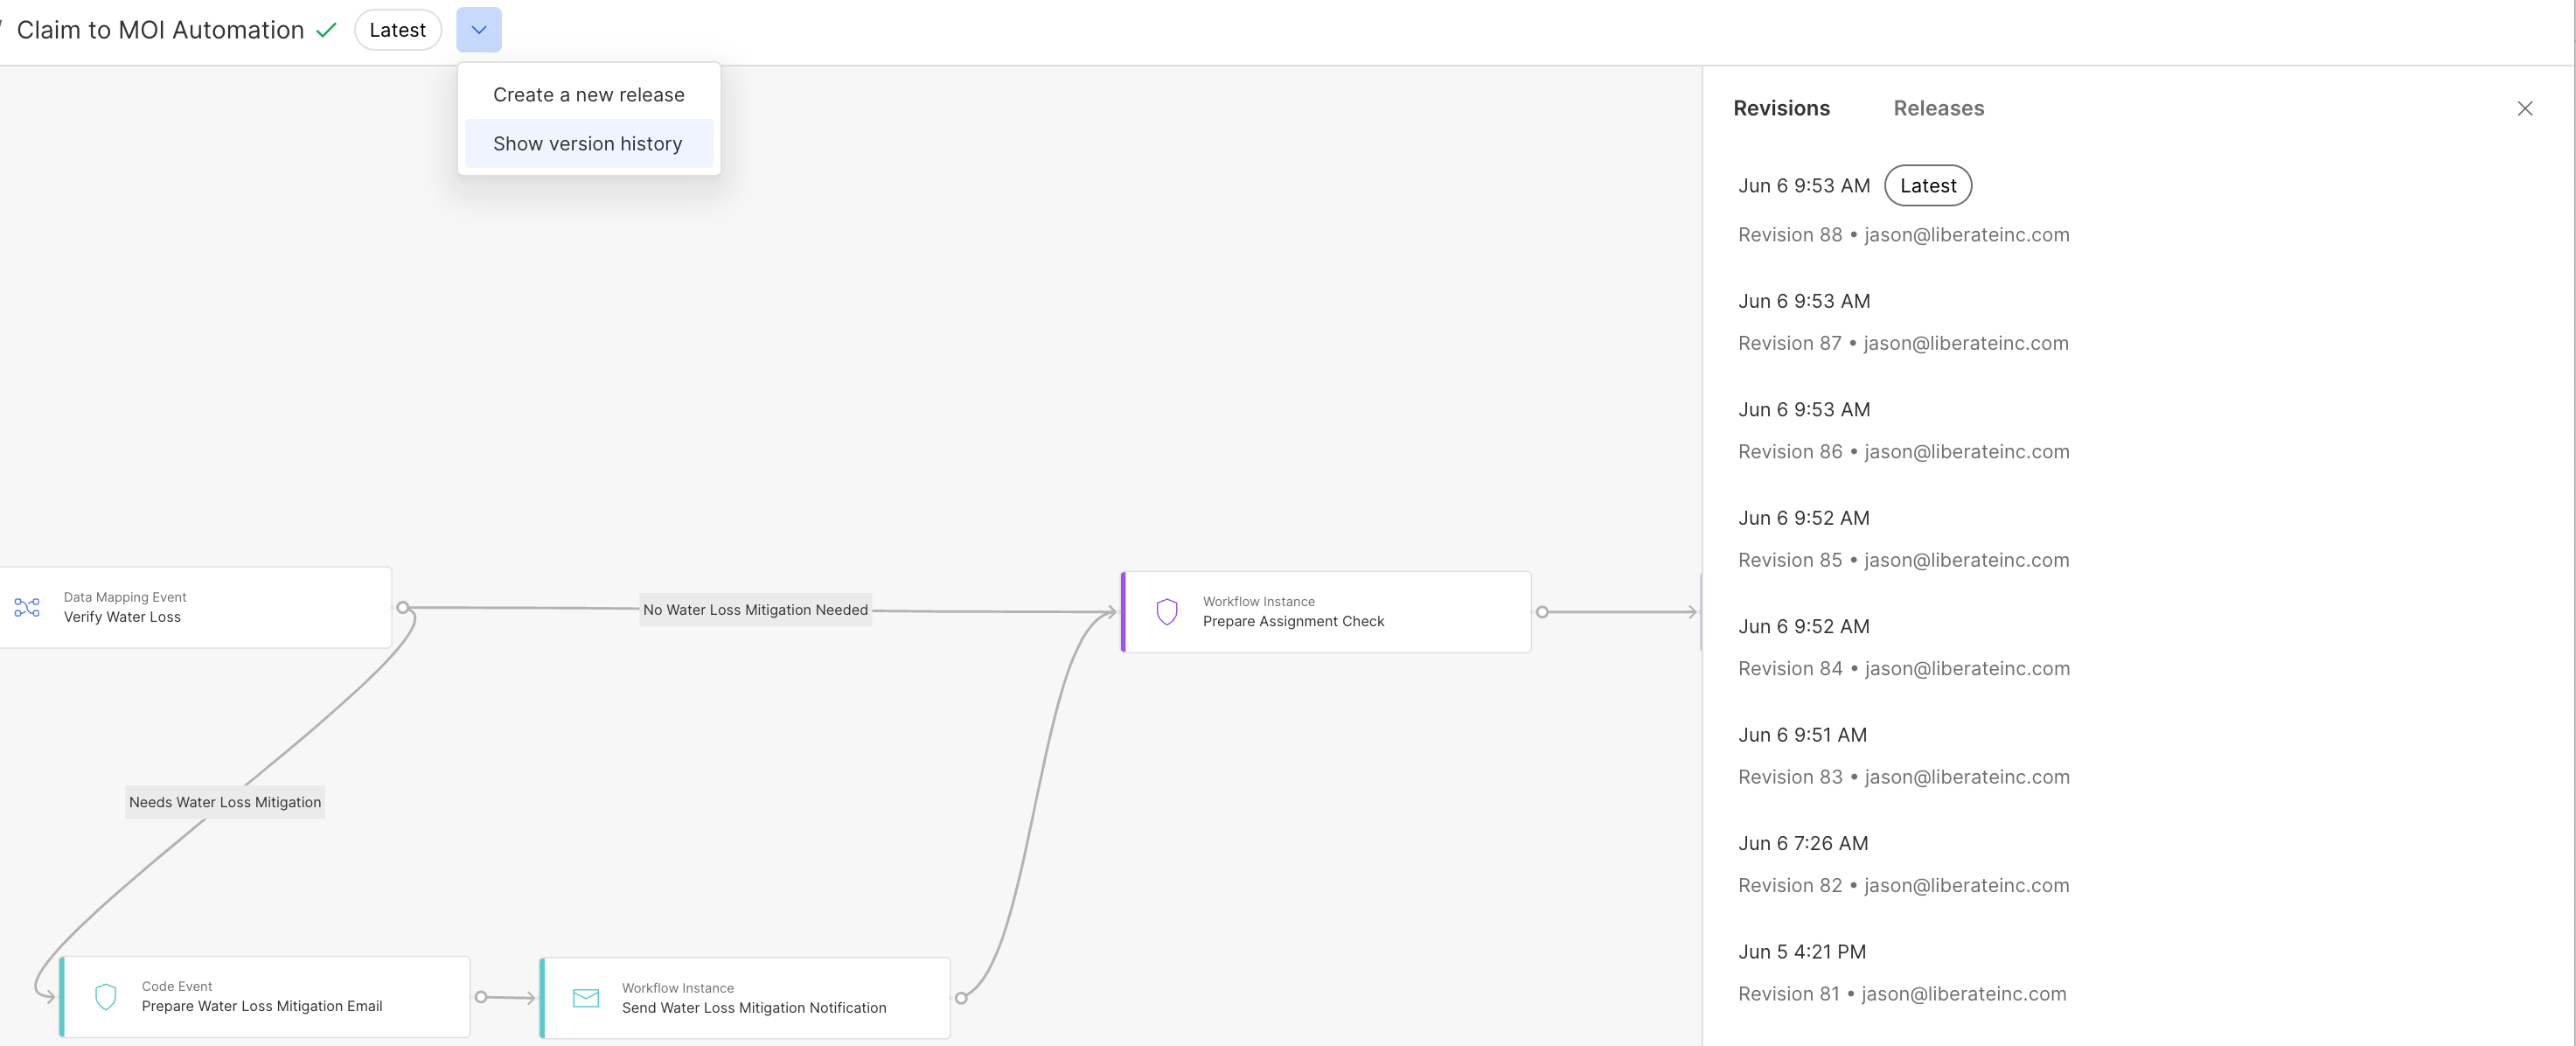
- Accessing Revision History: To view all revisions of a workflow, click on the "Version History" option located at the top of the Liberate canvas. This will provide a comprehensive list of all saved revisions.
- Creating Releases from Revisions: From the top menu, you have the option to create a release from the current version by selecting the "Create Release" option. Alternatively, you can create a release from a previous revision by clicking on the desired revision and choosing "Create Release."
- Adding Release Notes: Both releases and revisions can be accompanied by release notes. These notes provide important information about the changes, updates, or bug fixes made in a particular release or revision.
Releases:
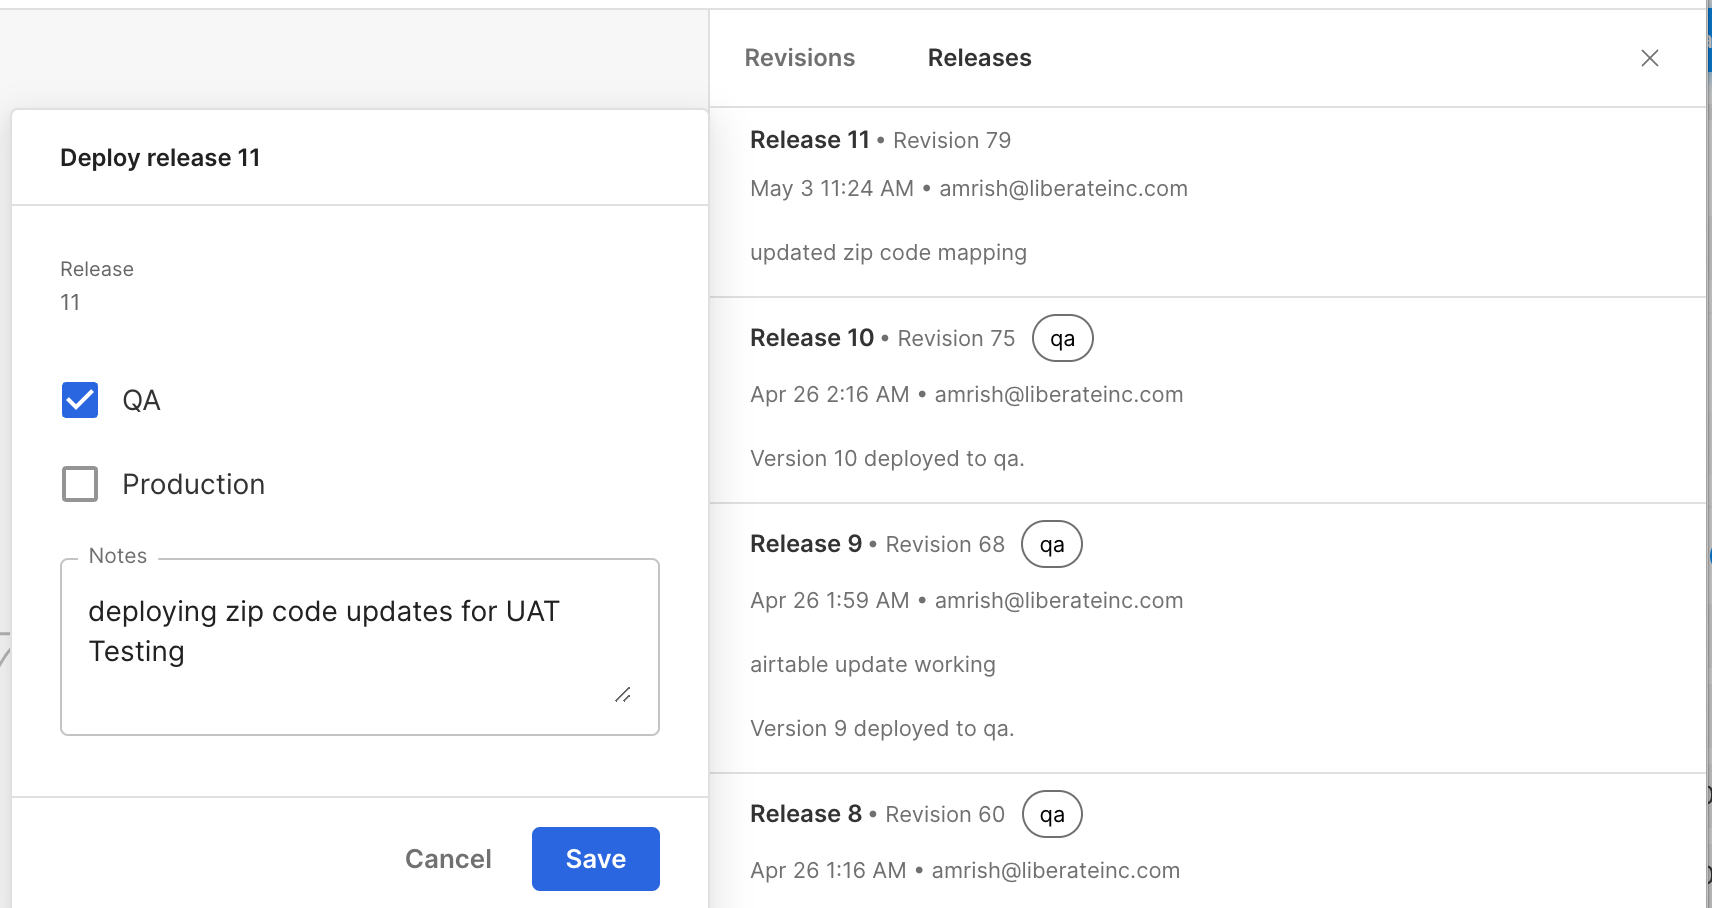
- Deployment and Release Management: The release tab, located on the right panel of the Liberate interface, allows you to manage and deploy your releases to QA or production environments.
- Deploying a Release: To deploy a release, select the desired release from the release tab and choose the appropriate deployment target, such as QA or production. Follow the provided instructions to complete the deployment process.
- Rollback: In case you need to revert to a previous known good release, Liberate provides the ability to perform rollbacks. This ensures that you can quickly address any issues or errors encountered during deployment by reverting to a stable release.